Visual storyteller and Canon ambassador Wil Calabio shares his top travel photography tips for mastering your frame game. Interview by Eleanor Edstrom
Wil Calabio knows how to point a lens with confidence. Recognised for his diverse and visually striking imagery, the Sydney-based photographer, videographer and content creator isn’t afraid to bend creative borders. “My parents were very creative so my upbringing was driven by creativity, whether it was painting, drawing or sculpting,” says Calabio. “Eventually I started to capture memories with my friends through cameras, and that’s how I fell in love with the photography side of things.”
His cinematic portfolio has not only landed him an ambassador role with heritage brand Canon but has taken him across the globe, from the deserts of Utah to the lush mountains of Madeira. But Calabio’s allegience to Canon cameras first clicked into place much earlier down the line. “I love the brand. Before I worked for them, I was using Canon cameras from the age of 12,” Calabio adds. “And I love working with the people themselves [at Canon] – it’s a great team. There’s so much space to explore in the development of photography.” In this exclusive interview, Calabio takes us behind the lens to reveal how he keeps his shots sharp and soulful while travelling.
Wil Calabio’s top travel photography tips
From camera and gear recommendations to editing know-how, Calabio imparts all the travel photography tips that help him master the moment.
What are the dos and don’ts of travel photography?
1. Use Google Image Search to find interesting travel locations to shoot
“If you’ve found an image of a really nice scene and it doesn’t have a location tag, you can save and paste that image into Google Image Search. It will come up with articles or blogs that might tell you the exact location of the photo, how to get there or when to shoot it – so it’s very helpful.”
2. Capture as much content as possible to avoid regret
“This comes to an extent obviously, but I’ve had plenty experiences myself where I’ve been travelling and sat back down at the computer when I got home and thought, ‘I wish I just captured a video of me, you know, on the train, or a photo of this instead of this’.”
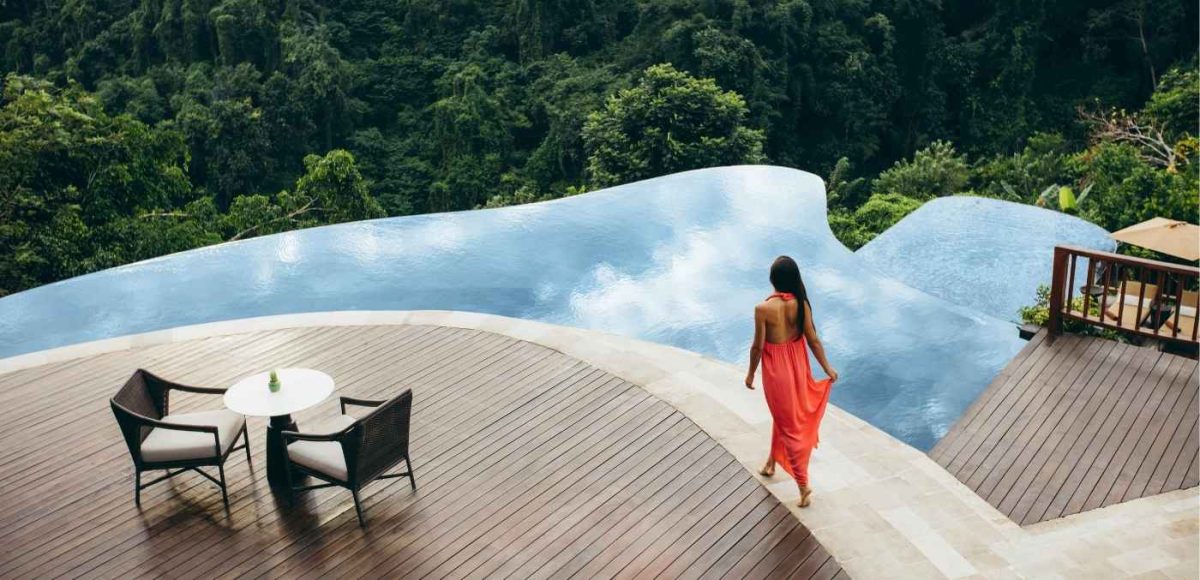
3. Include people in your images
“This just provides a sense of scale. It could be a random person from the actual country, which adds a cultural element to your photo, or it could be someone that you’re travelling with to have some memories.”
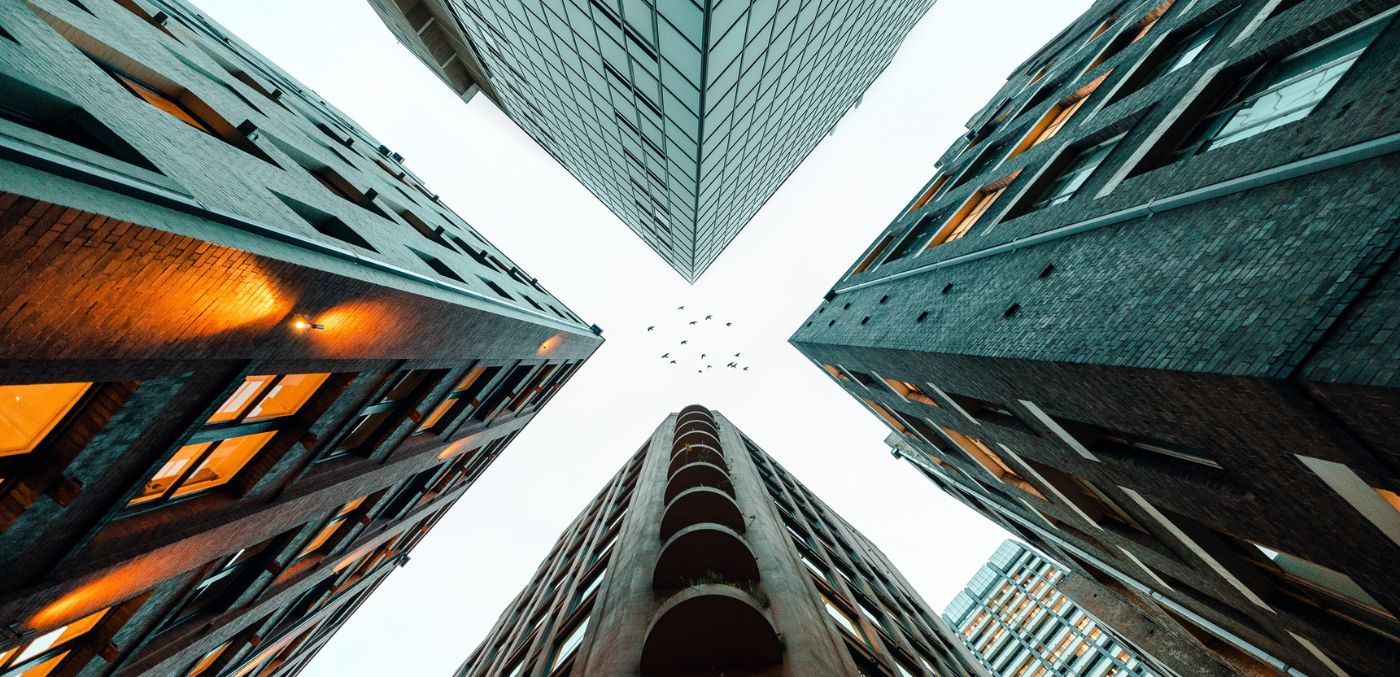
4. Find a fresh perspective
“Think about capturing multiple angles when you’re at a famous landmark, for example. Don’t just fall into the trap of capturing that one tourist photo, because you don’t want to get home and sort of think, ‘Oh, I could have just looked that up on Google’. This helps you capture a memory for yourself that’s unique.”
5. Don’t leave your camera gear lying around
“I’ve had nightmare stories. You just always want to have your camera gear nice and safe in a bag. A bag that I could recommend is the Wandrd Prvke bag.”
6. Don’t carry too much equipment
“Think about how much gear you’re bringing and travel lightweight. And by this, I just mean carrying a camera or a lens that’s lighter or just simpler. For example, you might bring the PowerShot V1, which doesn’t have an interchangeable lens.”
Do you have any tips for how to edit travel photos?
1. Find inspiration in other travel photographer’s editing styles
“There are so many online sources now where you can look at other people and travel photographers on Instagram or YouTube. You can get a feel for how they approach an image, what the colours look like, the contrast levels… That just gives you a spark of inspiration when you don’t know where to start.”
2. Use presets in Adobe Lightroom
“This helps people make the images they take on holiday look cinematic in a single click. They might want to get something that’s a bit moodier, a bit more summery or something that’s wintery and cold.”
3. Download an editing software
“Using an editing software helps you to learn the fundamentals and allows you to make all those tweaks that you want to your photos.”
Which app do most photographers use to edit pictures?
Most phones have their own editing software, but if you have a camera, definitely look at getting Adobe Lightroom on your phone or on your laptop. Adobe Lightroom Classic is what I use, which is a bit more for the professional side of things, but Adobe Lightroom on your phone and laptop are both great for beginners.
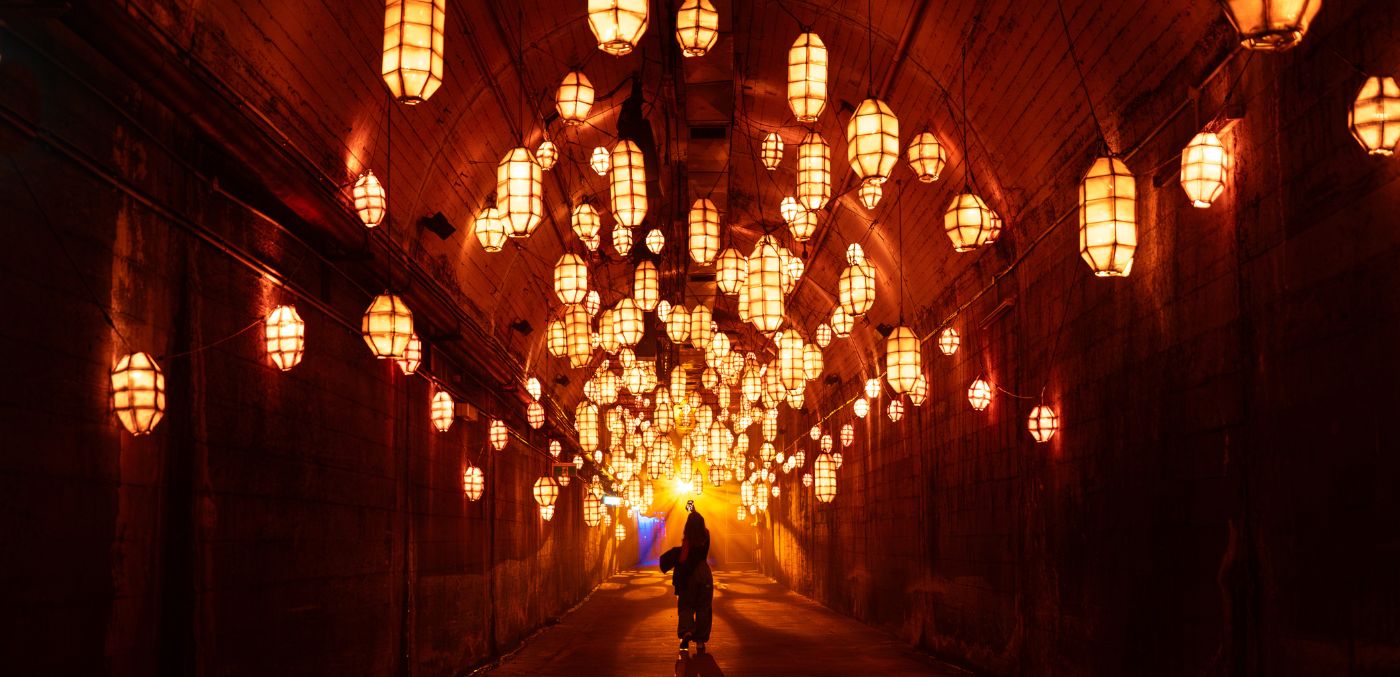
What is the best time of day to take photos?
The key times are sunrise and dawn, and then dusk and sunset. You don’t have that harsh sun coming in the middle of the day, and locations always just look really nice with that colour. I think it really brings the location to life.
Is it better to travel with DSLR or mirrorless?
Mirrorless cameras have the potential to be a lot more compact than, and not as heavy as, DSLR. So mirrorless cameras are friendly for travelling because you don’t have to worry about carrying around a big camera in your bag.

What are the best cameras for travel photography?
Beginner level: PowerShot G7 X Mark III (photos) and Canon PowerShot V1 (video)
“Both of them are very compact, very small, and they don’t have interchangeable lenses, so you don’t have to worry about swapping lenses when you’re travelling.”
Intermediate to advanced level: Canon EOS R50 and EOS R50 V
“They’re both interchangeable lenses, so you get a bit more power with your lens and can decide how you want to capture a photo.”
Advanced to professional level: Canon EOS R5 Mark II and EOS R8
“The EOS R5 Mark II is a great hybrid camera that kind of does everything. The lightweight version of that, which I’ve used for three years for professional use and travel, is the Canon R8, which has awesome capabilities but in a budget-friendly body.”
What are your must-have camera accessories for travel and content creation?
POV mount
“The brand I have is TELESIN. Basically it can hold your phone or an action camera, and that lets you not worry about filming because you can just hit record. You get a perfect behind the scenes of your perspective while you’re travelling and taking photos.”
Tripod
“Not everyone likes to bring a tripod when they travel, because they can be quite heavy, but if you find a good, balanced tripod that is lightweight but also sturdy, that’s perfect. I have one called the Manfrotto Befree Advanced, which I’ve had for years, and it’s always done the job.”
Steal-proof bag
“A bag that I could recommend is the 31-litre Wandrd Prvke bag and photography bundle. They’re great for travel photography because they’re kind of steal-proof bags, so you can put your camera in and don’t have to worry about people nicking your stuff.”
What are the three basic camera settings and what do you use each one for?
For beginners and people that are just starting in photography, by all means, switch on auto mode. If a plane goes past, or someone’s walking through a frame, you don’t have to worry – just press the shutter button and that’s it. But if you’re getting into the advanced to professional stage, then manual mode is very useful, because you can dial your settings yourself and tailor the image. The more you practise using these settings before your trip, the faster you’re going to get – it’s kind of like learning to type on a computer.
1. Aperture
“This is basically how much light is let into the camera by the lens. You can imagine it as a physical sort of circle that opens and closes. The lower the aperture number, the wider the lens is, and the higher the number, the more closed the lens is. Why you would change this is because the wider the lenses, the more light gets let into the camera and also the more depth of field, so you get that blurry background look. And then with the more closed aperture, you get a more specific point of focus.”
2. ISO
“If you put your ISO at a higher value, it’s just brightening the image. If you put the ISO at a lower number, it will darken the image. You usually want to keep this as low as possible, because when you go high, it introduces grain and noise, and it doesn’t look as clear.”
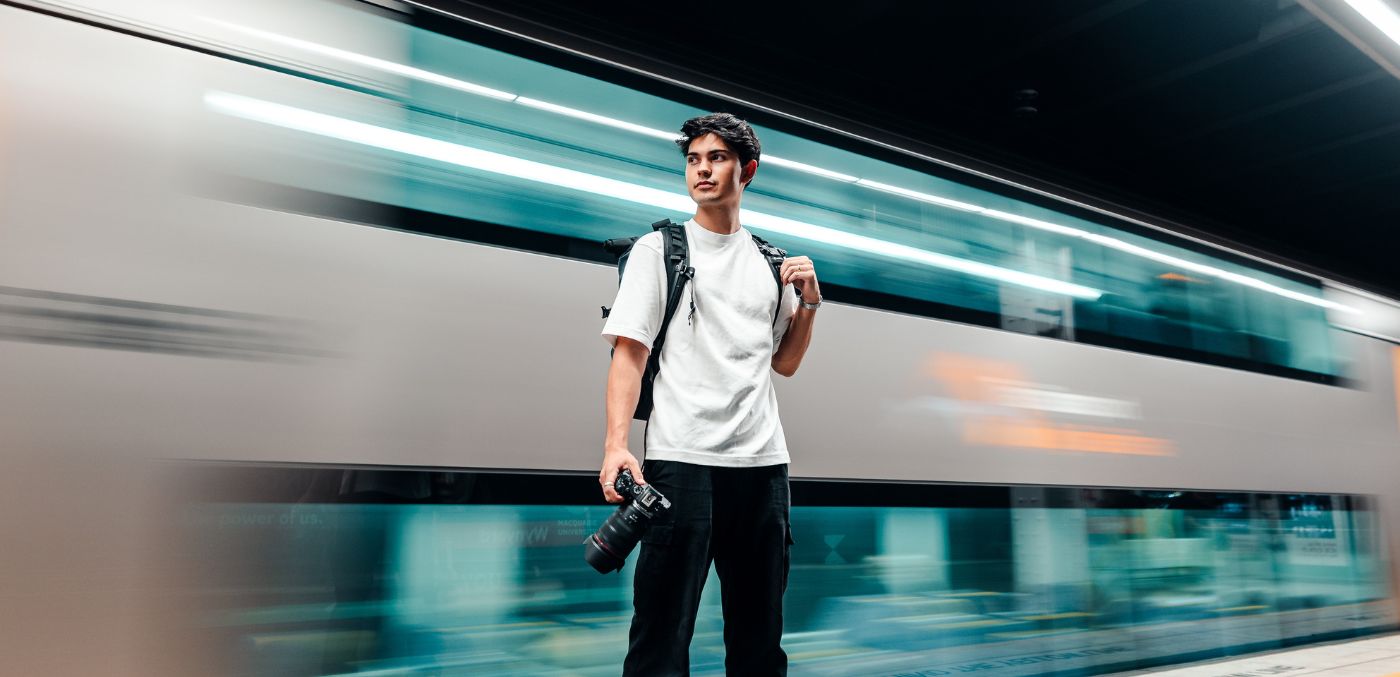
3. Shutter speed
“Shutter speed is just how fast your camera opens to the light. If you set your shutter speed to a very fast number, let’s say 1/120 of a second, everything will be captured clear and crisply at that moment, with no motion blur. On the other side, if your shutter speed is open for that one second, you’re going to see the whole motion blur of, say, a person walking from the left to the right side of the frame.”
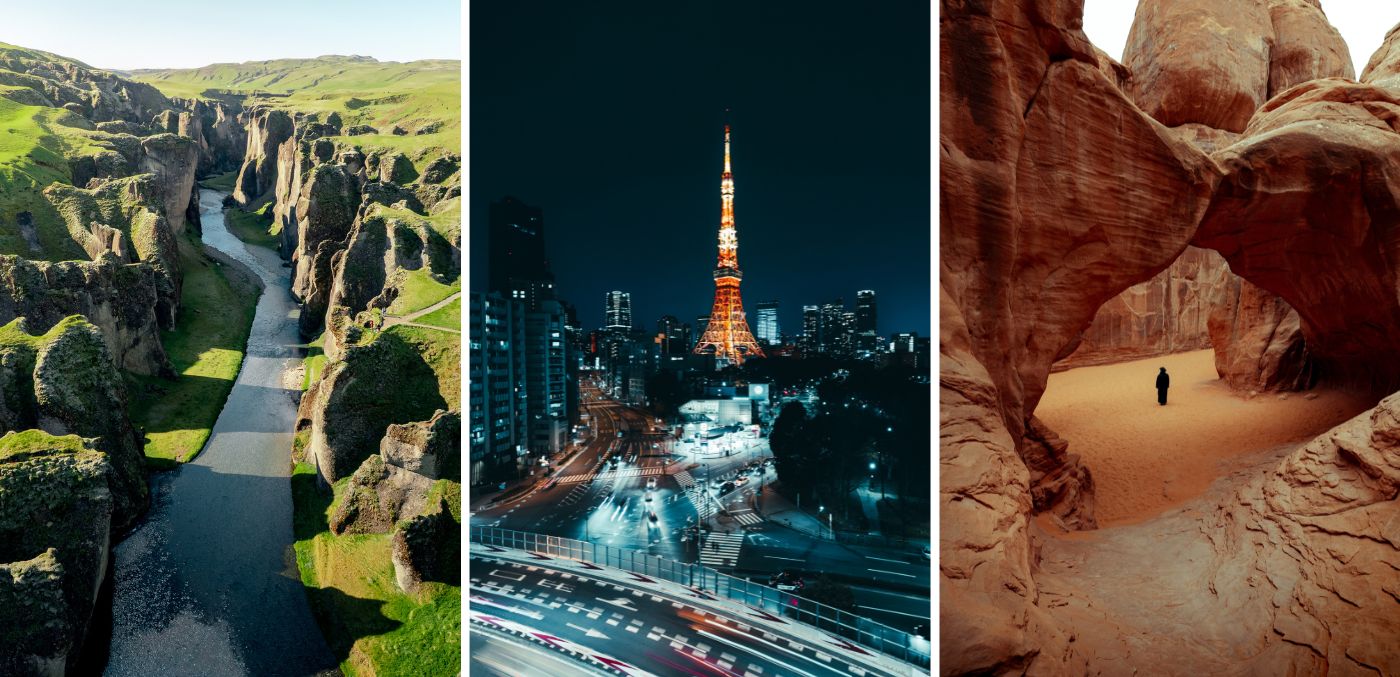
What are the best destinations for travel photography?
Iceland
“It’s the sort of place where you feel like you’re missing out every time you’re not taking a photo. It has very dramatic landscapes… it feels like it’s not even on Earth. “
Madeira
“It has beaches, but it also has mountains. It’s quite small, so you can easily travel around the island. There’s so many different biomes within that small little island, which is awesome for landscape photographers.”
Japan
“It has a combination of city and environment, and an ambience that I’ve never experienced in any other country. A lot of cameras are manufactured in Japan, so everyone there is very interested in cameras, and you can of course find lots of new gear and accessories to buy.”
Do you have any advice for how to become a content creator for travel or starting out as a beginner photographer?
Build a portfolio of spec work
“Imagine you’re doing a campaign or a job. Let’s say you you’re going to an Airbnb overseas. Before you settle in and make a mess – while it looks nice – take photos of the Airbnb and the surrounding environment. You can show them to other hotels and Airbnbs once you’ve built up more of a portfolio and that just lets them see their own product or their own hotel in your images for them to approach and maybe work with you.”
Stay calm and open-minded when shooting content
“It’s very easy to get overwhelmed or be anxious about people seeing you and sort of think, ‘oh no, let’s just get out of here’. You just have to take a deep breath and think back to why you’re there, the reason you booked that trip. It’s worth it to hustle and get that photo.”
This article is a Signature Luxury Travel & Style digital exclusive. Be the first to see more exclusive online content by subscribing to the enewsletter.